Update 1
On day 1 we viewed a documentary about the origins of processing and why it was created revolving around the principal of coding for artists. I then I looked through some of the basic tutorials for the most basic concepts within the program.
Update 2
Circle and Rectangle Random Generation
Ellipse and Lines Under Mouse Control
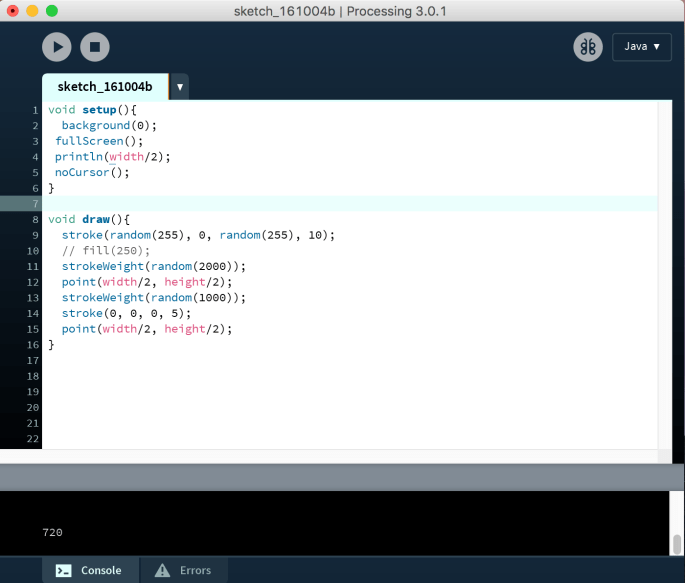
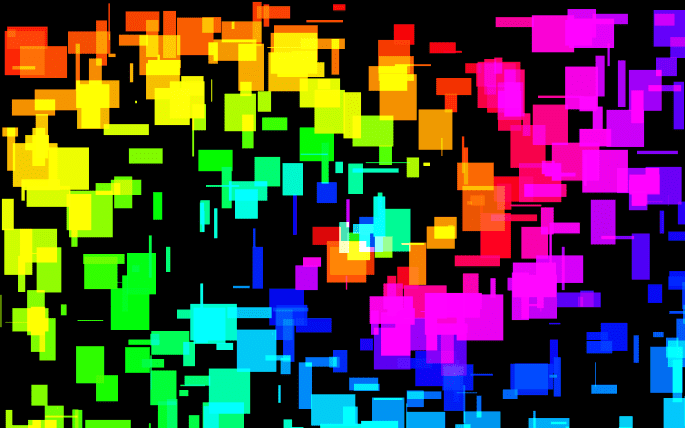
Here are several examples of early coding which I created on the first workshop of the Creative Coding project. I have also included some screenshots of the code in progress.

Obviously the earliest stages are just basic learning and experimentation but I can already see interesting shapes beginning to develop which I couldn’t have previously formed without some form of random generation.
The speed at which ideas can actually be created, from conception to realisation is also much faster than other softwares. I do understand that as ideas become more complex, as more factors and levels are implemented into my work, the speed will not be as fast, the initial stages have got in a state where I am already thinking about things I want to do, and what I will need to learn to achieve these images.
So far I have looked at the void setup, void draw, void mousePressed, void keyPressed, void keyReleased and void mouseReleased command sections all inclosed with {}. Even these basic commands alone allow for so much scope combined with random generation of simple shapes and blendMode(ADD/SUBTRACT).
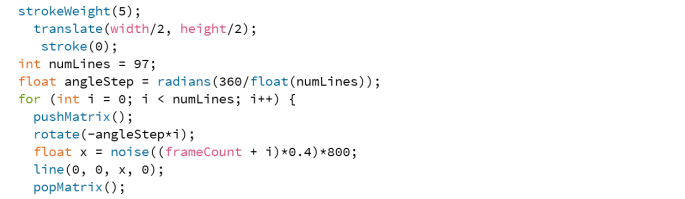
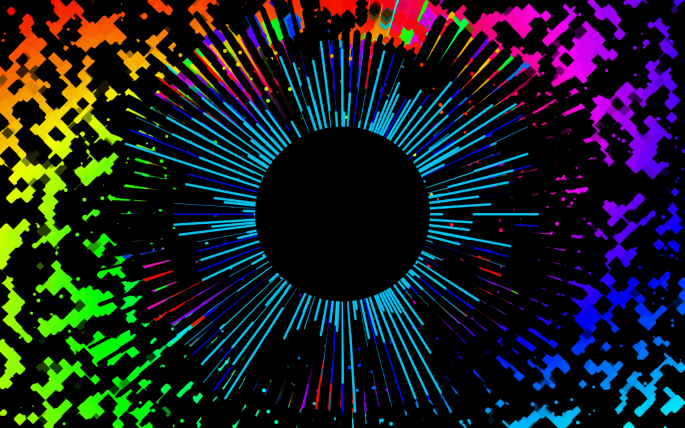
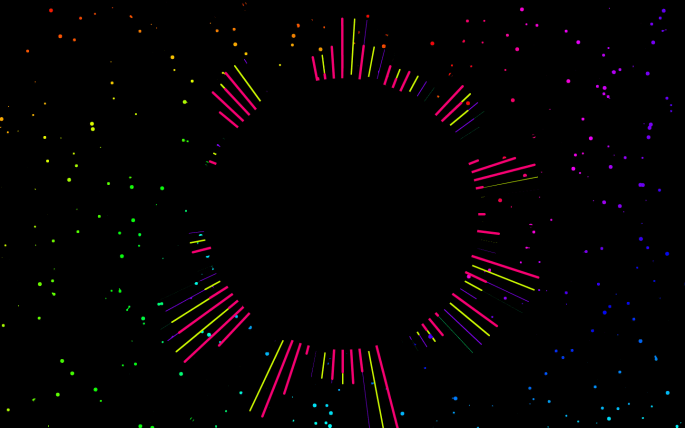
I also found that sometimes, a very slight mistake, such as ordering items or parameters in the wrong way can lead to unexpected but none the less pleasant outcomes. For example here, I was aiming to create a spotlight of light rays which would be surrounded by a black circle. This would be created by the order of parameters here.
However, I accidentally put the width/2 and height/2 before the mouseX and mouseY therefore reversing their functions meaning as the mouse moved, rather than a circle moving around at the same shape, it was stretching and contracting based on the mouse position on the screen and the light rays would follow from the middle of the screen to the mouse. This actually ended up creating a much more interesting visual effect and even once I had reordered them in the original way, I decided I liked the mistake more because it made a more unusual image.
Update 3
Today I started to look at putting my own input into what was actually occurring on screen rather than it being completely random generation that causes the viewed image, I wanted to make it so you control certain aspects and this leads to others being moved as well. I used the mouseX and mouseY commands as well as offsetting these with +units to make particles appear at different points on screen. Also I used /units so that the movement of each particle would vary and therefore create and more interesting and diverse image.
 Here you can see the multiplication and reduction of mouse input on the particles in the sketch and how this created diverse images. I feel the idea of creating a semi-random environment but where you still felt in control was successful.
Update 4
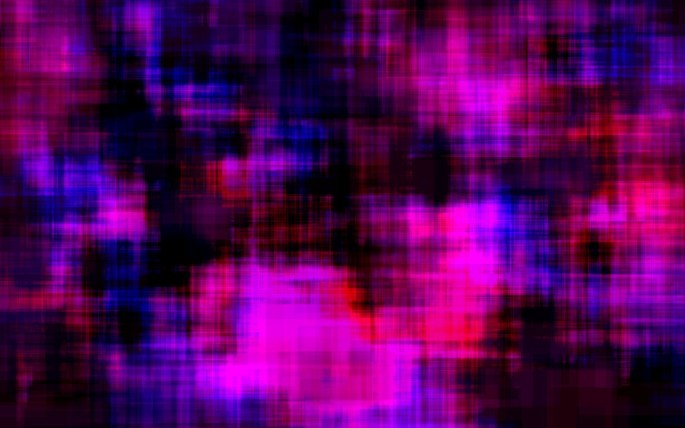
After thinking about what I created yesterday I decided I wanted to look more at the float command and how it can be used to lock and contain 2 or more values together making them appear to react to one another. I created this wave form system where the top set of waves are random generation within set parameters and the bottom set are 800/random value of adjacent top value. This works really well and I also used a overplayed semi transparent rectangle as I did yesterday in order to create the appearance of trails on the shapes, as well as random lines based on the same values to create a form of shading on the after image bars.
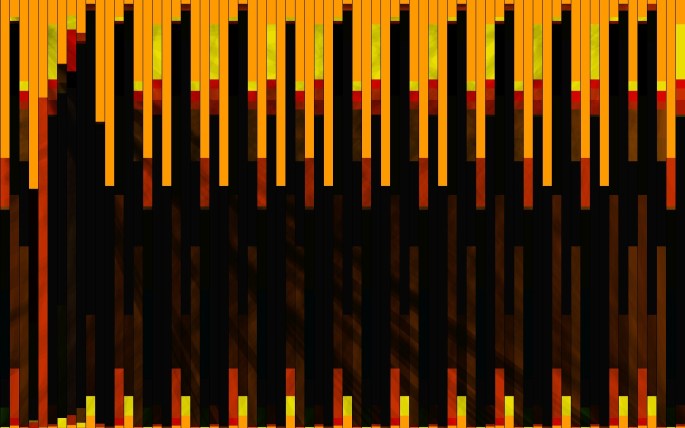 I also set it up so depending on the mouse position on the screen, it would change the colour the waves were. Green was randomly generated by the computer and blue increased as mouseY did with red increasing with mouseX. This created some form of user input which they may not notice at first but I actually felt improved the quality of the sketch.
After I did this it made me want to experiment more with locking 2 values together. I decided I wanted to make some form of objects which would expand into each others space. By this I mean as one shape would grow, another would decrease in size and visa versa.
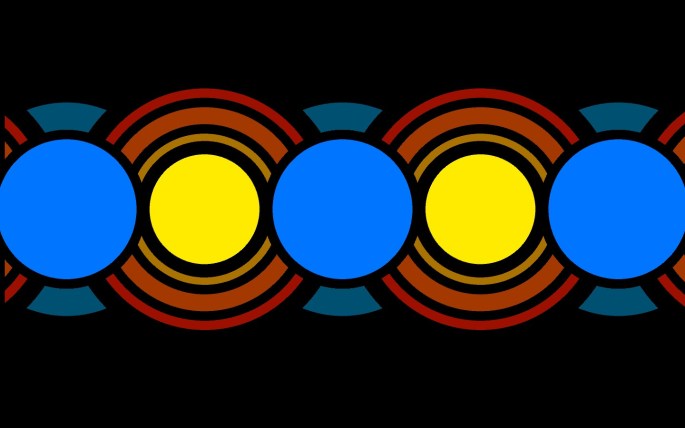
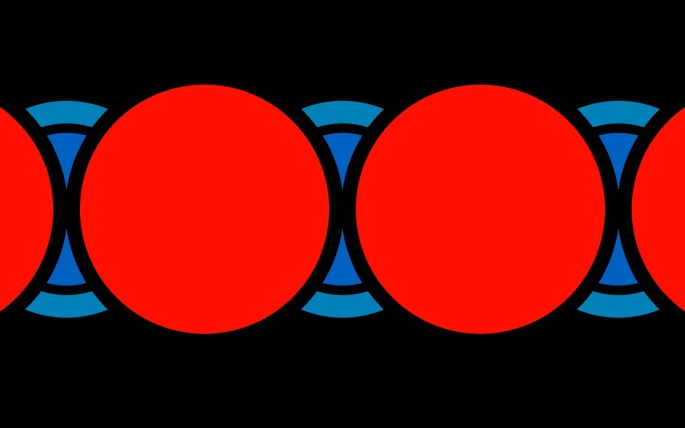
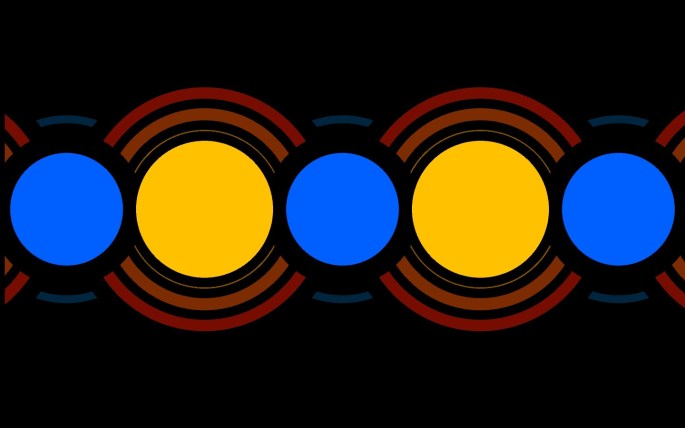
As you can see here, the blue set of circle grows as mouseX increases as it is dictated by float r, however as it decreases the size of the orange set of circles increases. As default he orange/red circles are 565 in size but r which is the mouseX value is removed from this which therefore means the lower mouseX’s value, the larger the orange circles are, and the smaller the blue ones. Because of all this, they never actually touch each other but will always almost touch.
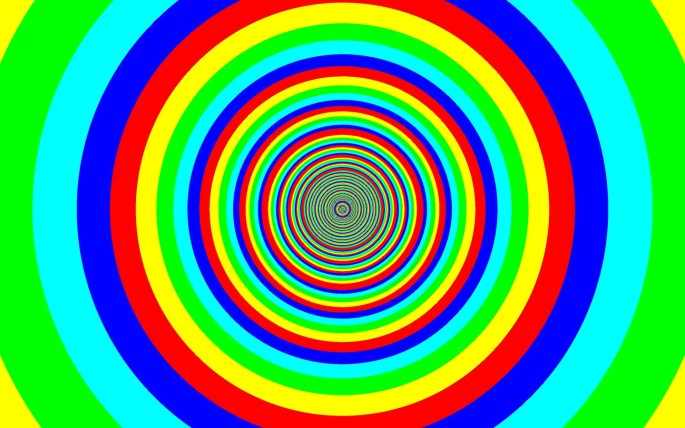
The next idea which I decided to pursue was a form of rainbow tunnel, the idea is it all revolves around gradually slowing down but never fully stopping of the sketch. Although time isn’t slowing, the rate at which the ellipses grow reduce. I feel that the image gives the illusion of a tunnel by each consecutive circle increases the amount the r (which is milliseconds the sketch has been running for) is divided by and therefore the rate speed seen to be traveling through this tunnel also appears to be coming to a stop.

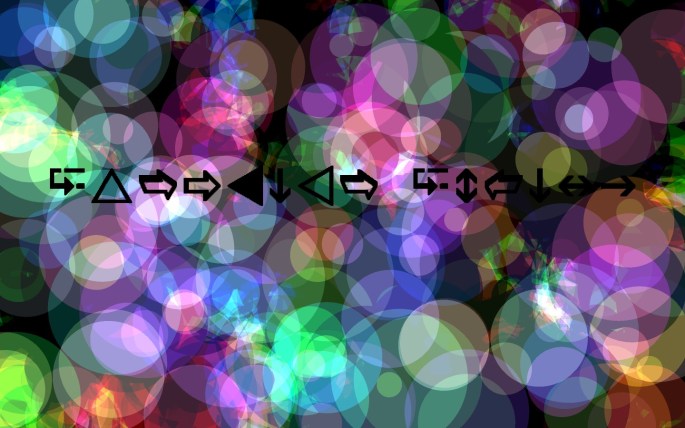
Here you can see how I wanted to take the use of user control and float even further with many different parameters being held together by float commands. The lines all plot themselves based on the floats and this in turn ends up connecting all the circles together via the lines. The only circle which is filled rather than just an outline is the one which the user has control over. There is also an invisible boundary around the screen which stops the random particles going within 100 pixels of the edge. I chose this for aesthetic purposes. Also depending upon where the mouse is on the screen, red and blue colours change based on x and y co-ordinates again with the green being randomly generated by the computer.
Finally I learn’t how to create rotations and how using the push and pop matrix systems allows other things to not be rotated.
Update 5
For this day, I mainly looked at enhancing the sketches which I had already created whilst also looking at image distortion. Random object movement played a key role in developing my connected pyramid idea, the whole sketch has lost the apparent complete randomness with the particles moving much more smoothly and together rather than one of two of them skipping all over the place.
Here is an example of how the design may look before the removal of the random particles which could appear anywhere.
My next step will be to attempt to overlay a geometric film with a alpha channel in so that it stays on top of the whole image but still allows the viewer to see the moving pyramid style shape behind properly.
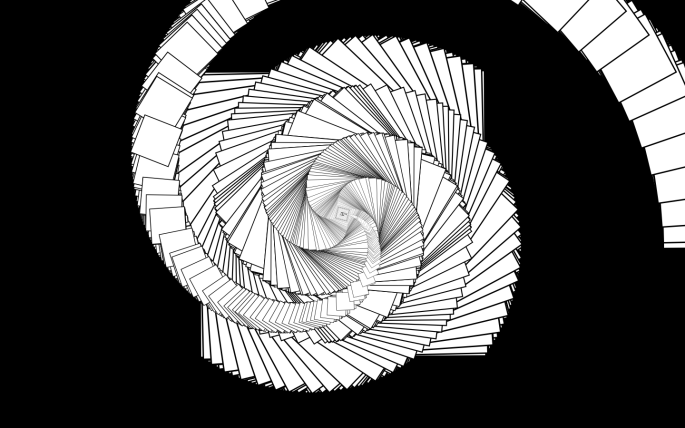
Bellow is a film I created with the geometric shape I am trying to use. It uses still images which I created (around seven of them). These all play in time with the music however I really want to create something like this with user input.
I have now added the geometric shape into the coding sketch however I now want to make this sound reactive so that music or people speaking will effect the appearance of the piece. This is because although this looks really striking on it’s own, it doesn’t provoke the viewer as strongly as it would if external input had effect on the image.
Update 6
Here I have implemented the sound reactive elements into the piece along with the geometric shape now being visible. After trying out both ways, I decided I only wanted size and not colour to be audio reactive as it simply became too hectic with both functioning at the same time. I also decided after the colour changing one I wanted more movement change, therefore I made it so that all objects move extremely fast and any form of sound slows it immensely and therefore long sustained sounds slow for long and sustained and brief sounds make a minor impact.
Update 7
In this next piece, I have been using filters quite a lot and have found that they often make a piece appear much more interesting but also require a major amount of the processing power for the computer. I also have tried inputing photographs however I felt that without converting these into shapes, in many ways they looked quite tacky.
Bellow, you can see a developed version of the piece where it switches between erode and dilate functions roughly every 5 seconds. I chose to create one of my 3 final sketches where there would be almost no input as I thought this may be more interesting for the viewer to simply watch in some ways. I have also made it so that the images are drawn as shapes instead of just simply displaying the images as they are. I feel that this form of abstraction makes it less obvious what the shapes actually are and also means that this image of a cycling yin and yang form is seen more with the actual objects being displayed less prevalent.
Update 8
After creating the previous final piece and the one before it, I decided I would investigate combining these 2 concepts together of a rotating central focused piece but which either reacted or at least seamed to react to sound.

Above can be seen this idea in it’s very early stages. I have used an image file to generate these shapes which use the colour of the image has behind and then form random shapes all over the screen. Bellow can be seen how I created a rotating waveform over the top which generates a form which seems to elude and often tricks the viewer into believing that sound has an impact upon the image they re seeing. This is because all the waveforms and the size of the black circle in the centre is completely random. I also once again used the erode and dilate filters to remove and add layered up colour which I feel adds interesting and more bland moments to the ever changing image.