
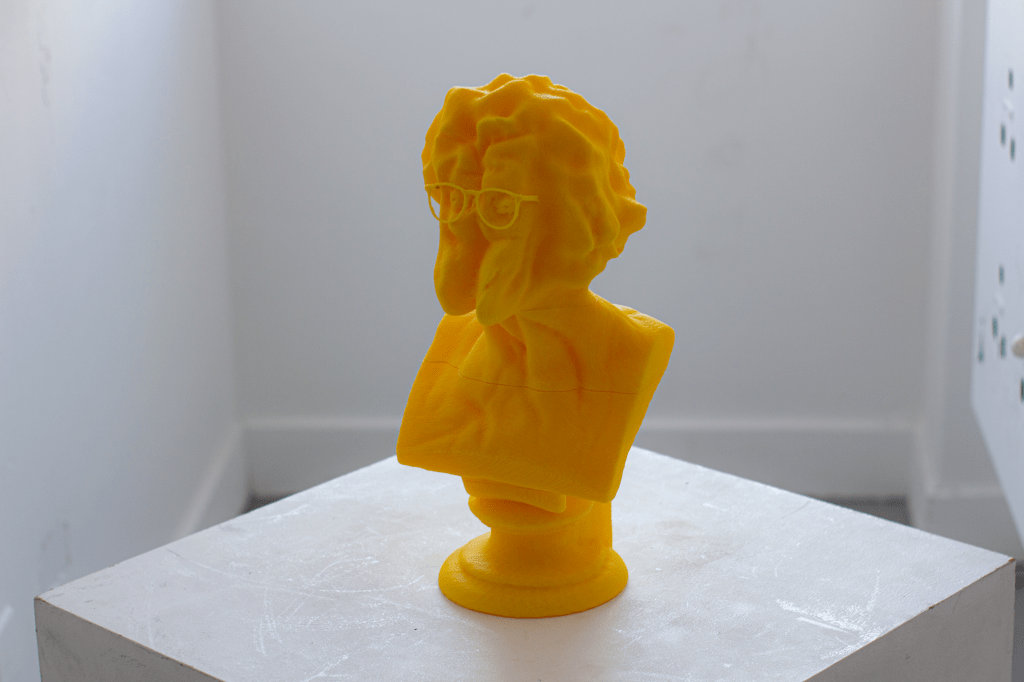
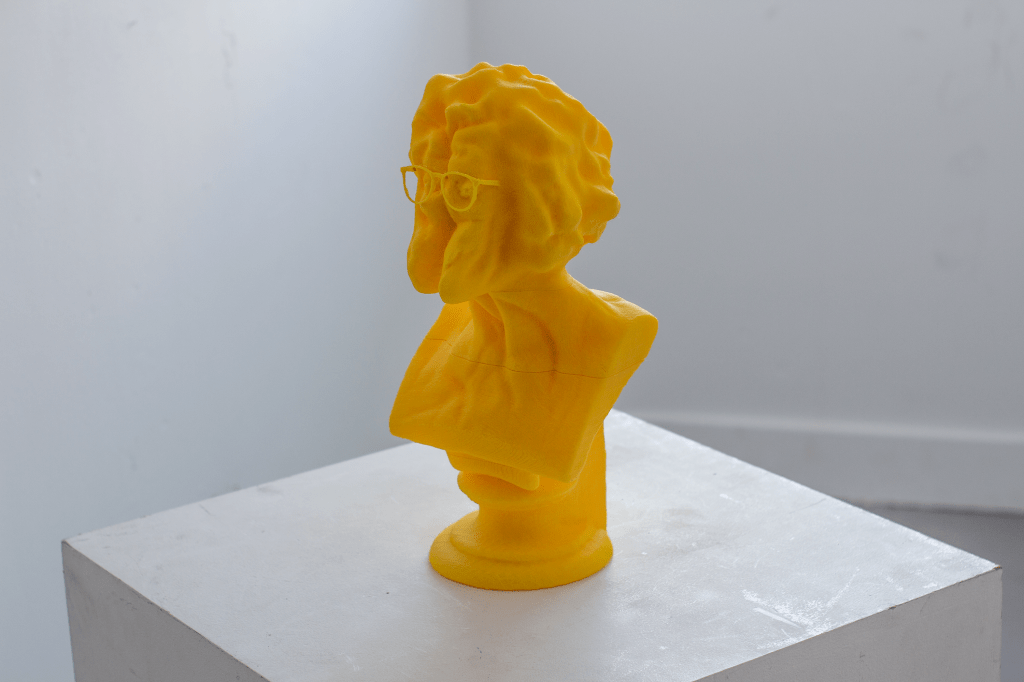
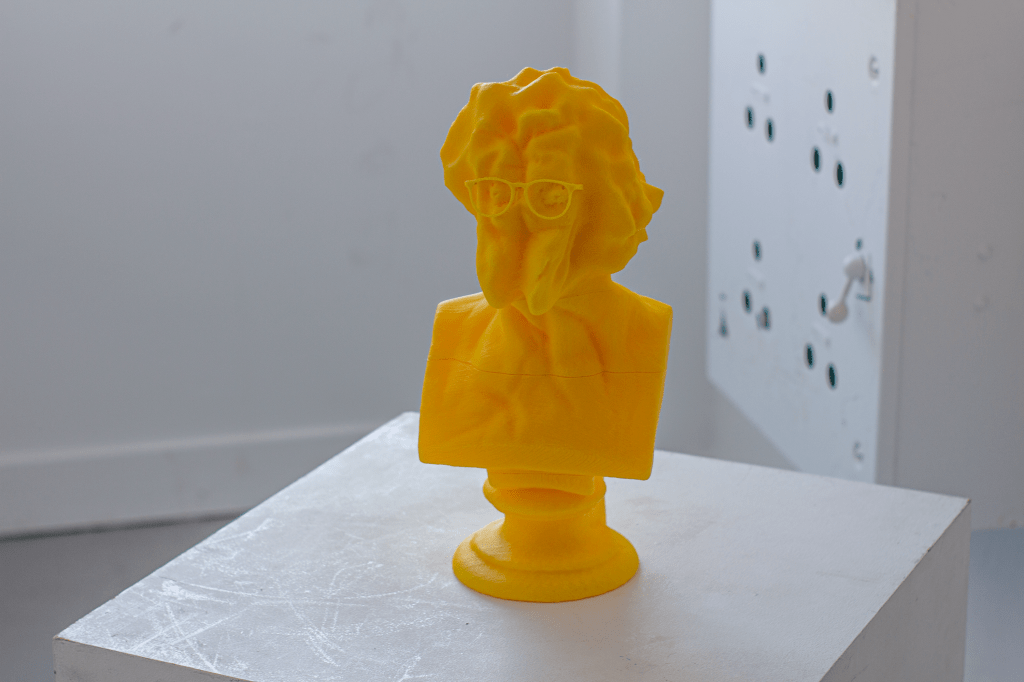
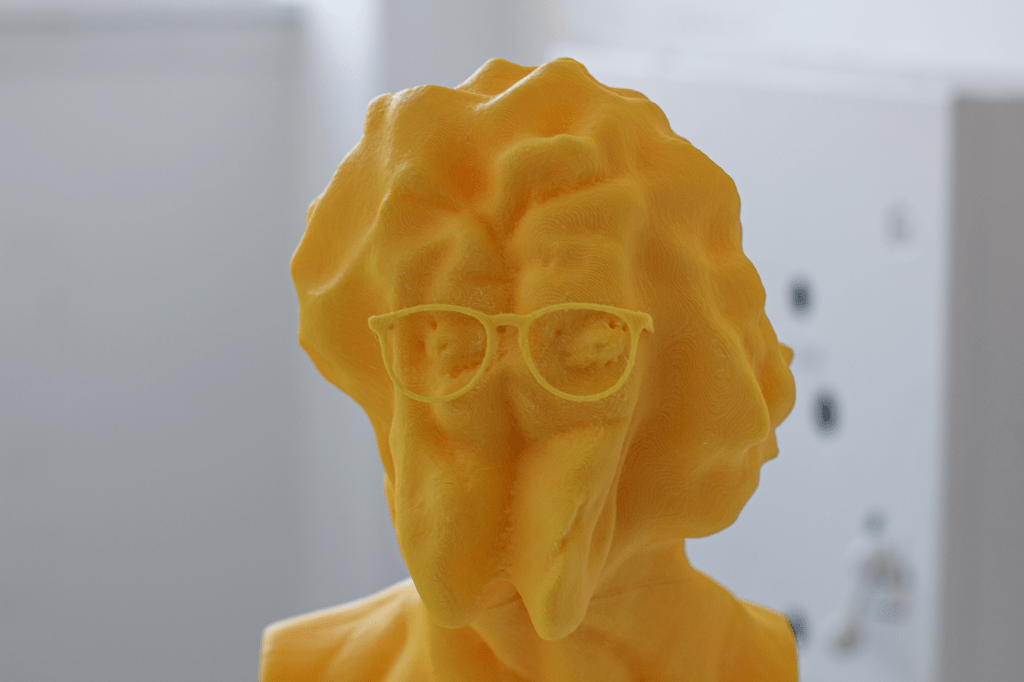
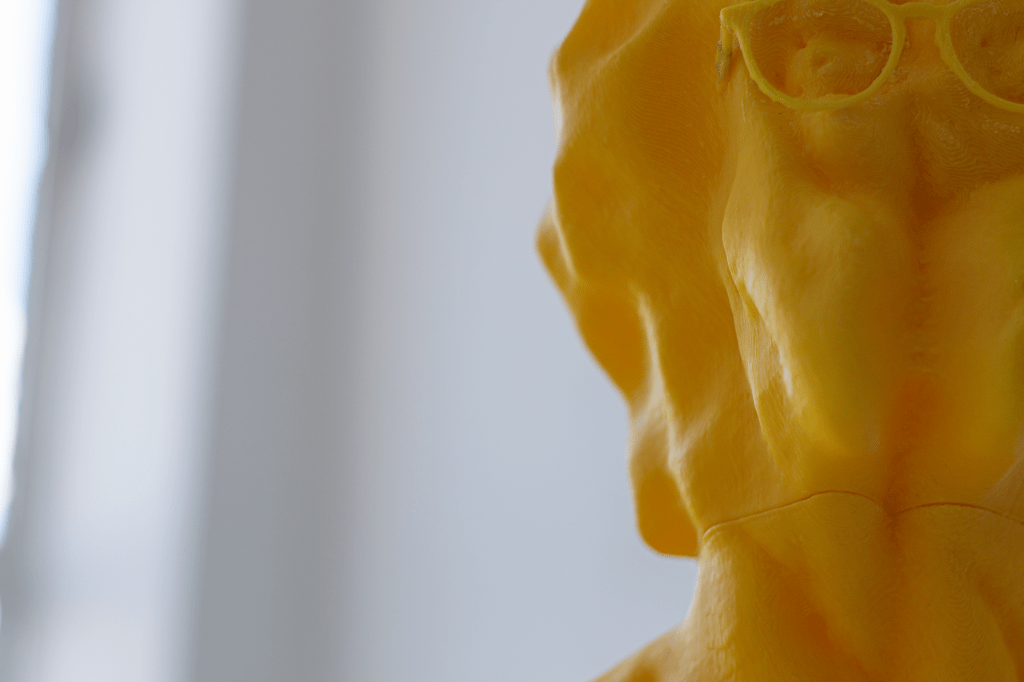
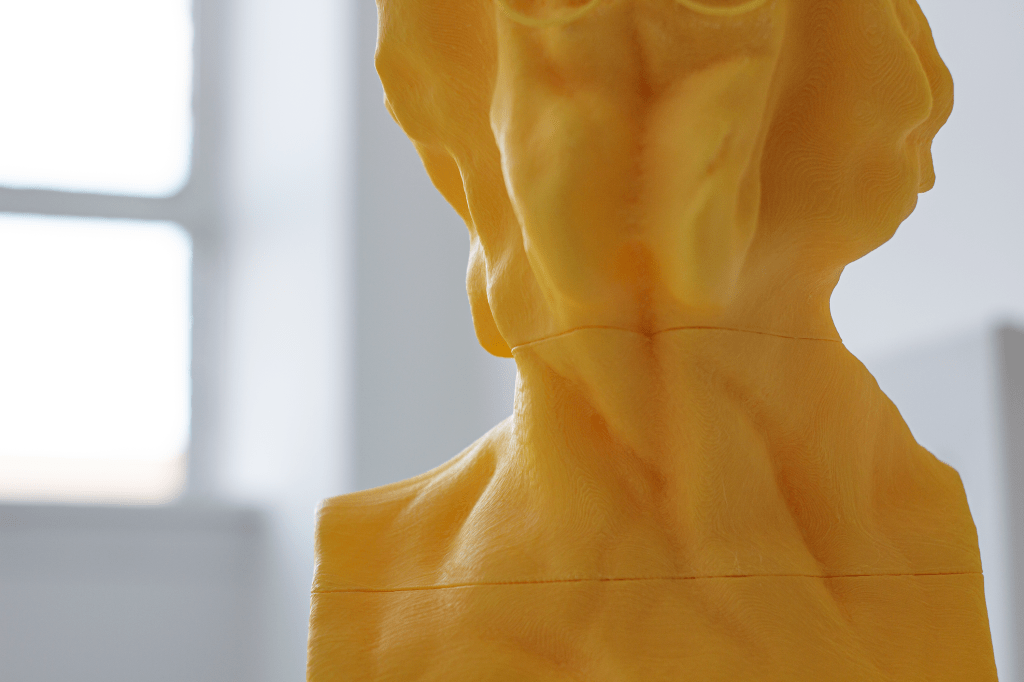
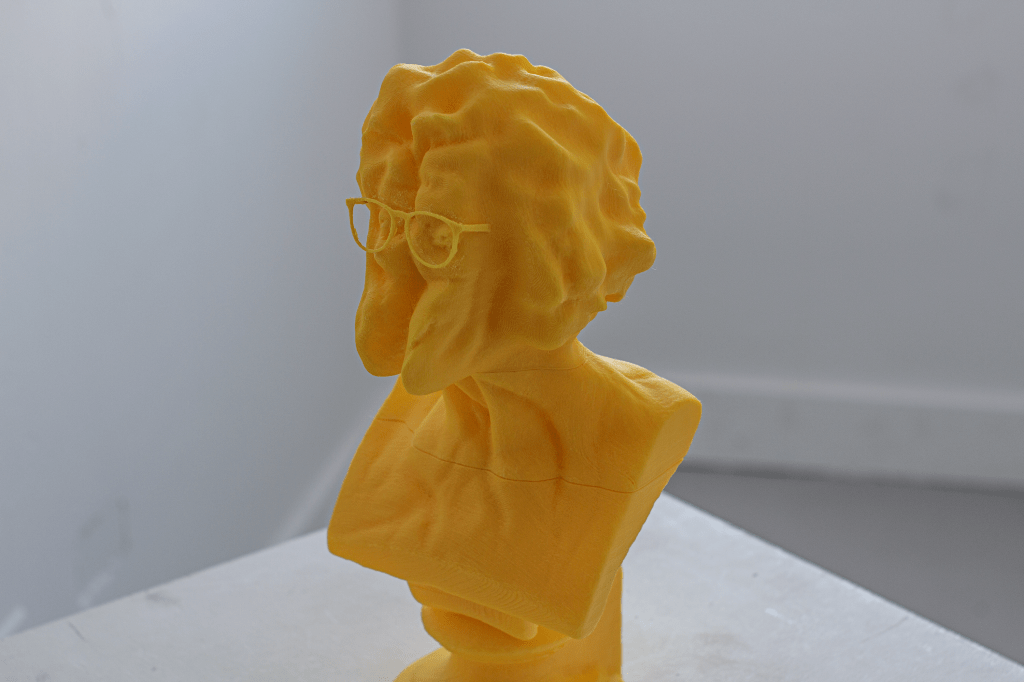
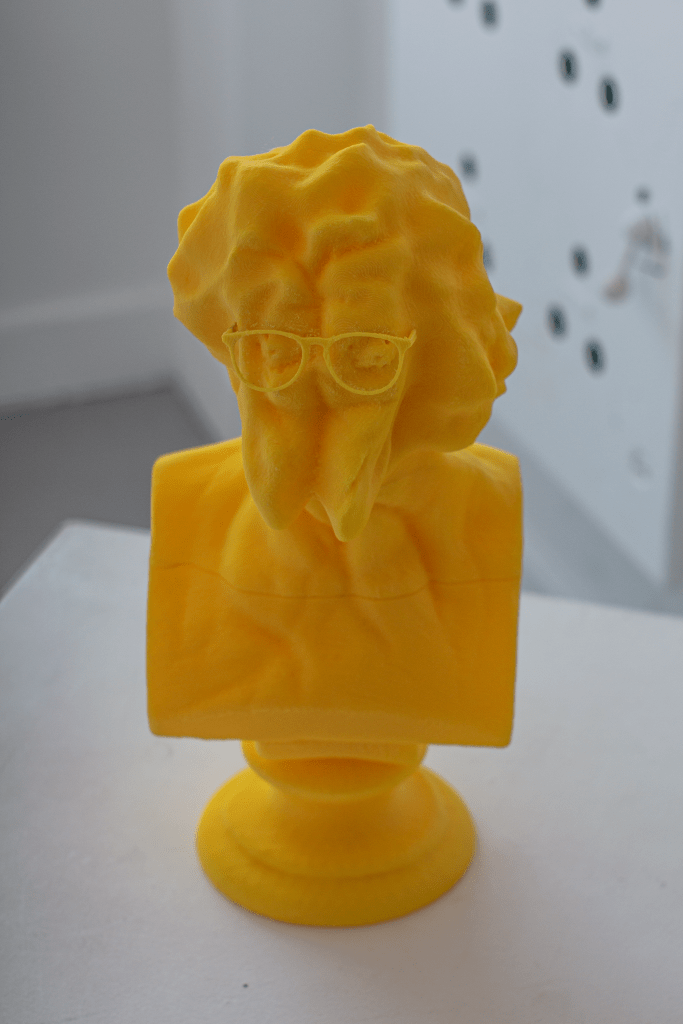
This week, I begun by taking high quality documentation of the assembled head sculpture which I printed last week in several sections. I really enjoy the way it has visually turned out, and the very finished quality of it as a whole.
I want to move on by trying to blur together the sections of it using acetone and test how well this process will work. on a much smaller test model to begin with.
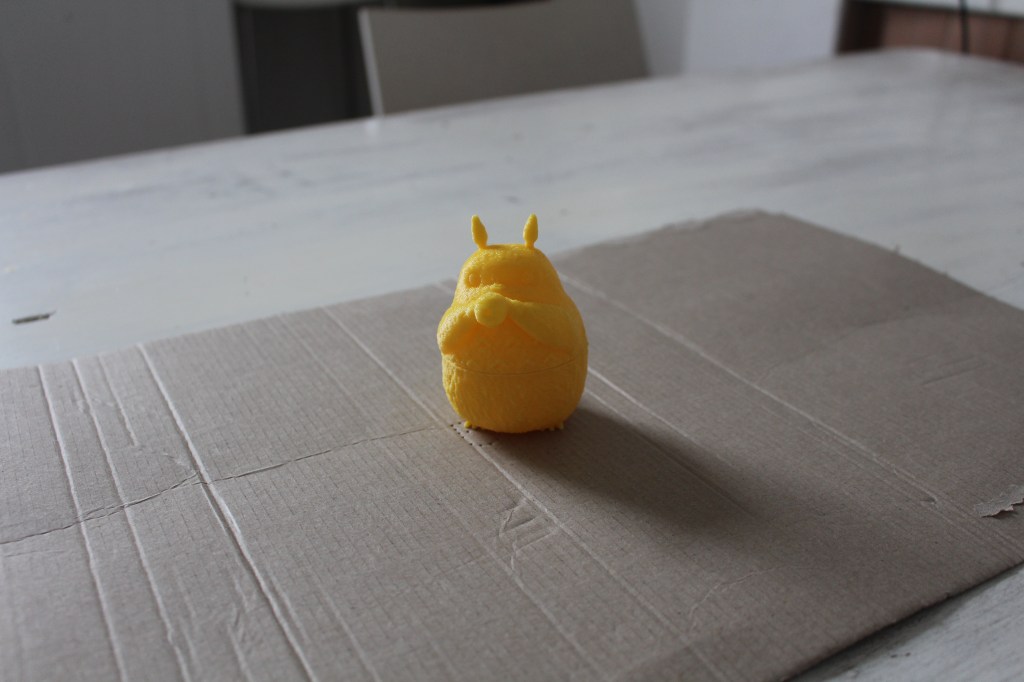
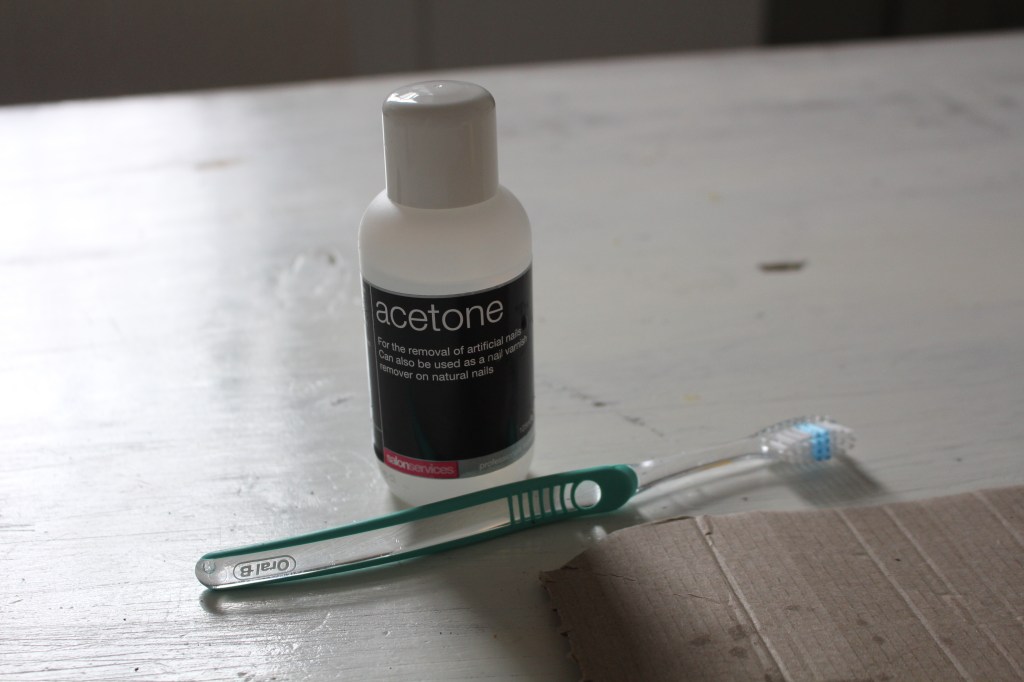
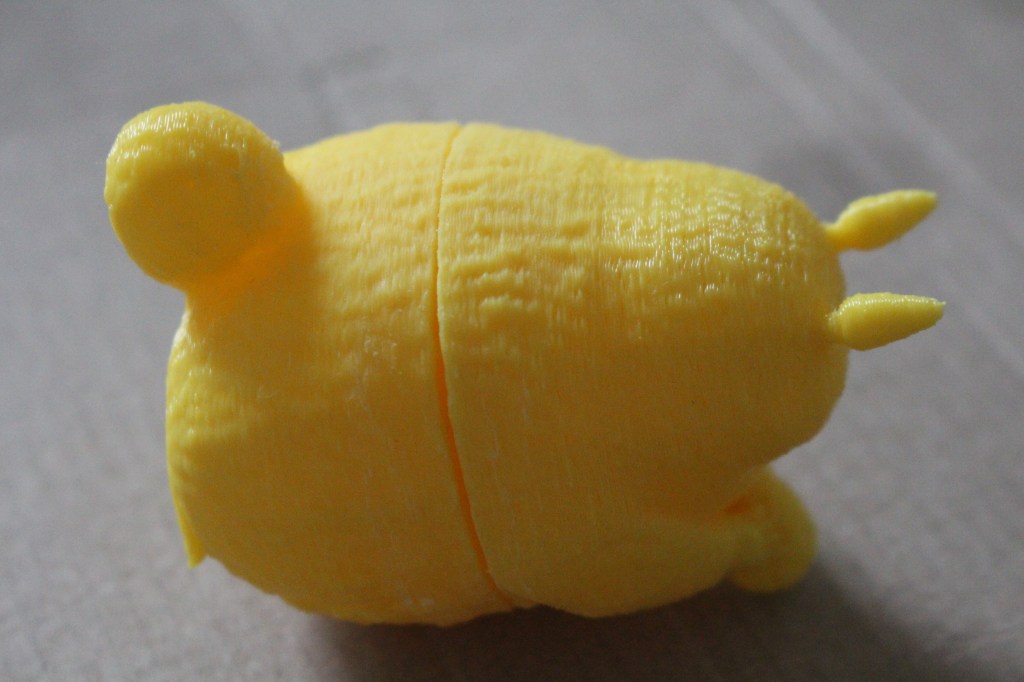
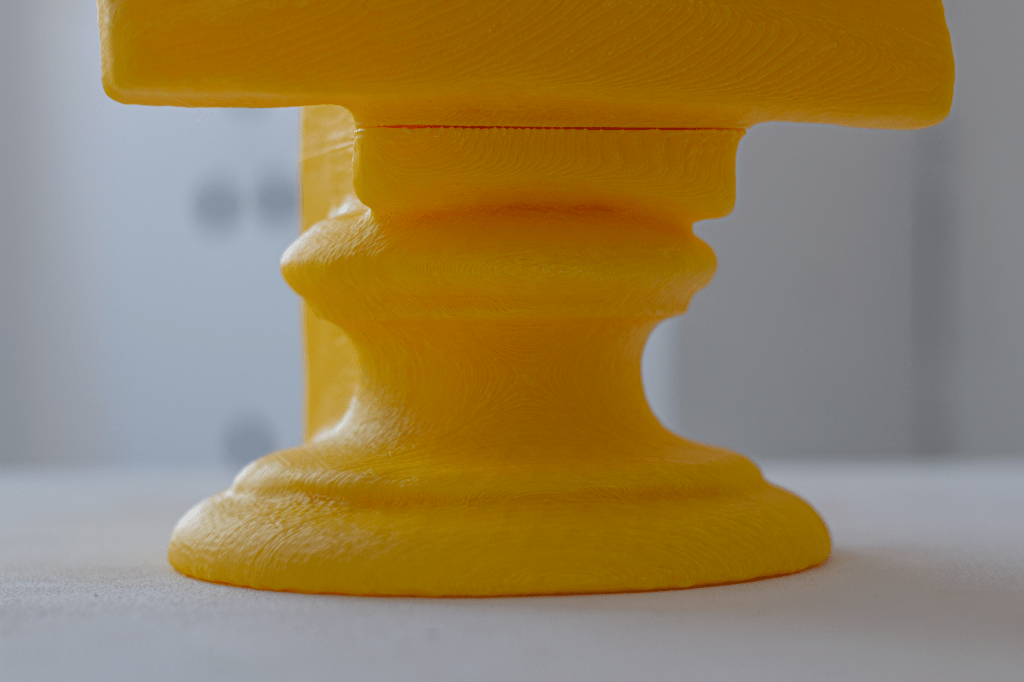
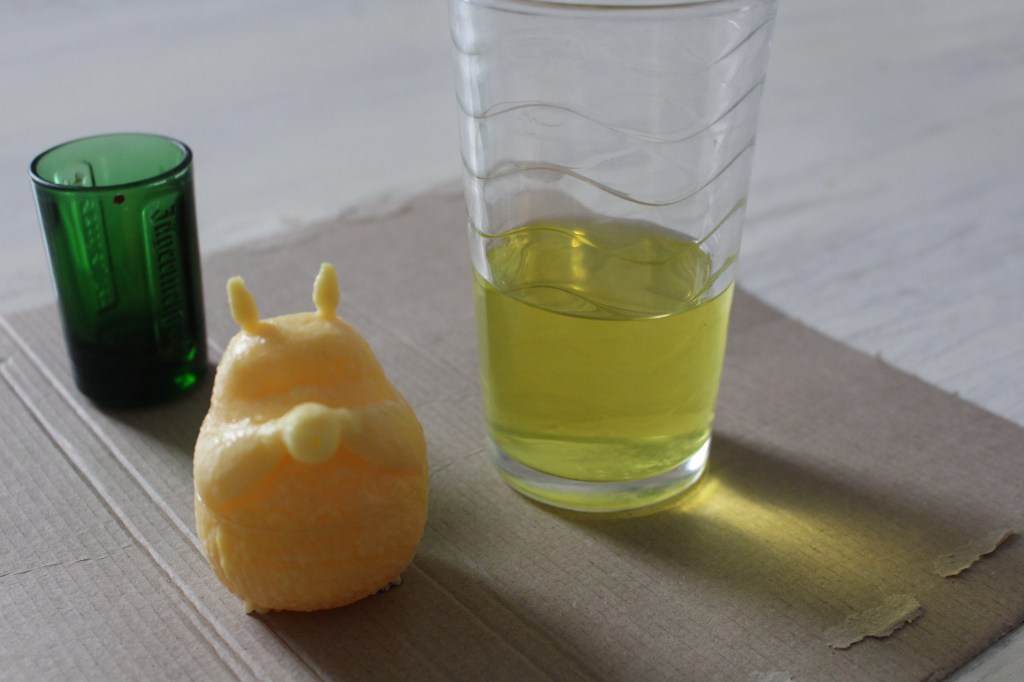
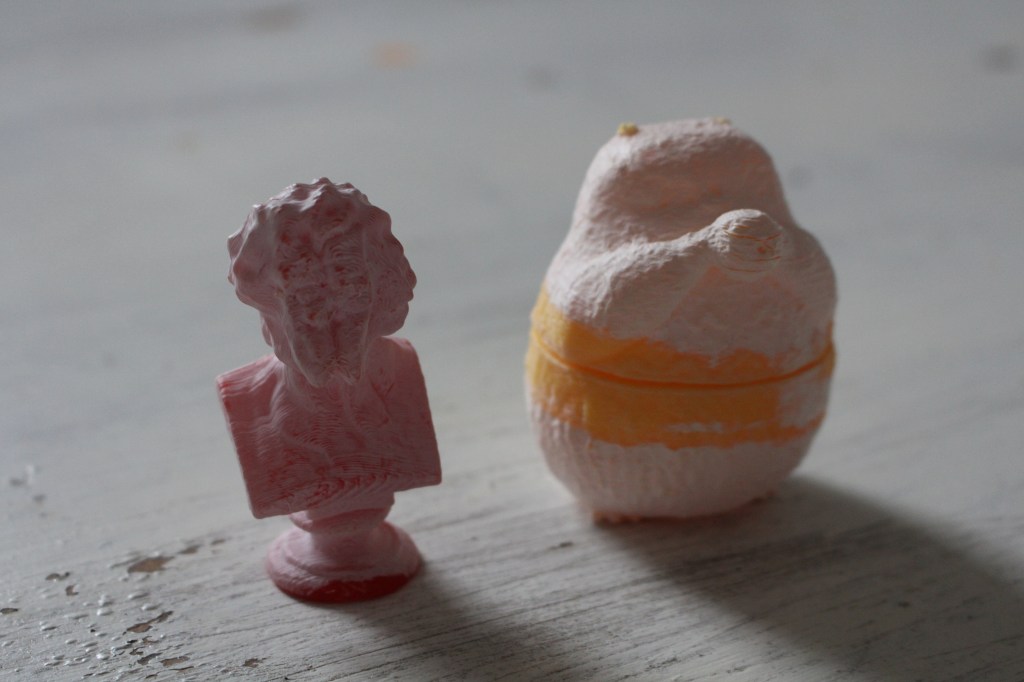
Thinking about the model I had created, I wanted to attempt to get rid of the lines which are visible where the sections of the print are attached. Researching online, I realised that PLA can be melted through the use of acetone and so I created a test print with a similar crack from the same plastic to attempt to seal these cracks. Brushing acetone on seemed to have no effect as shown above beyond some slight textural smoothing on the surface of the print.
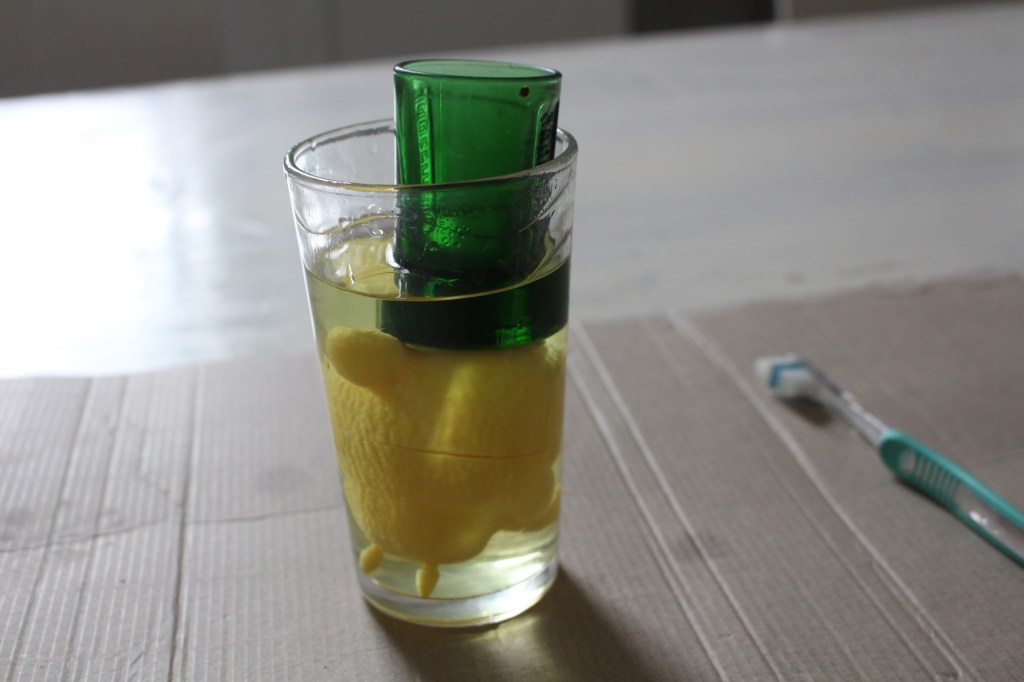
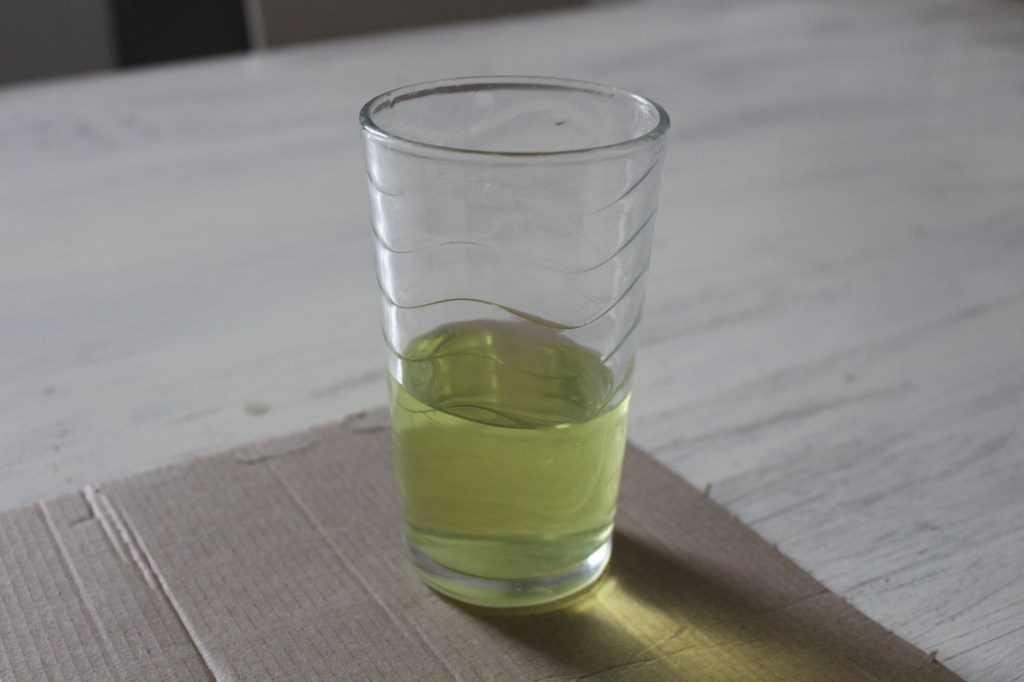
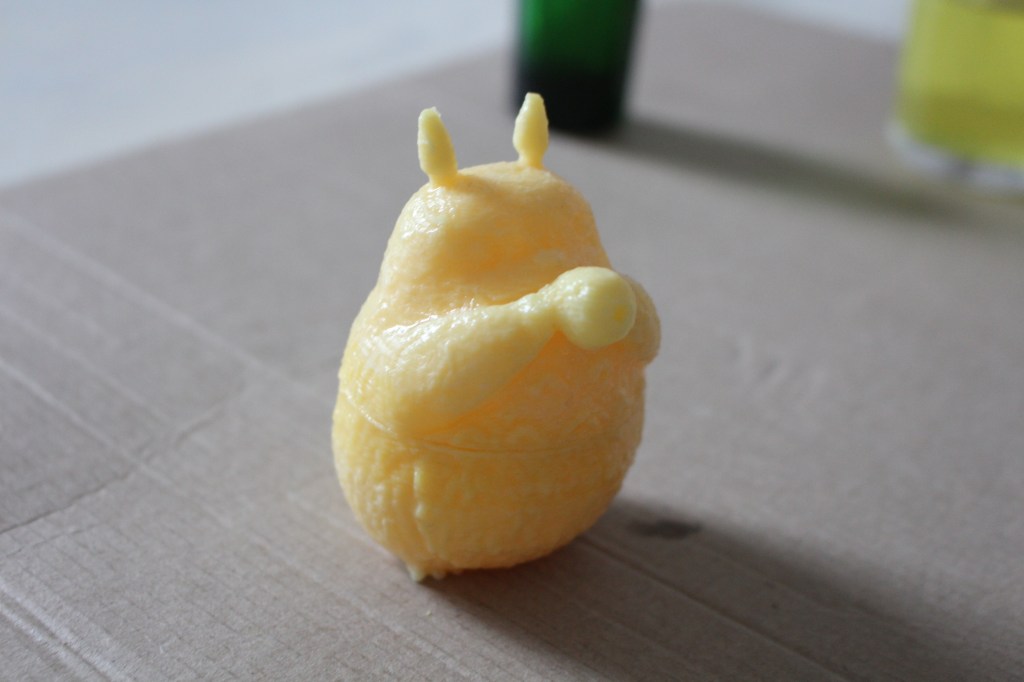
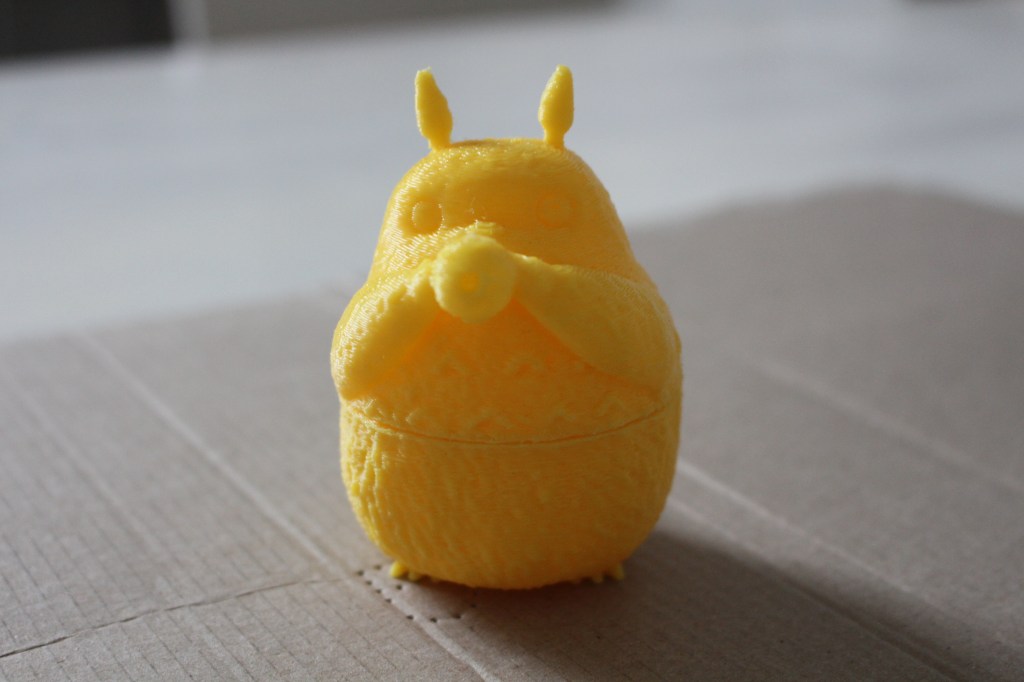
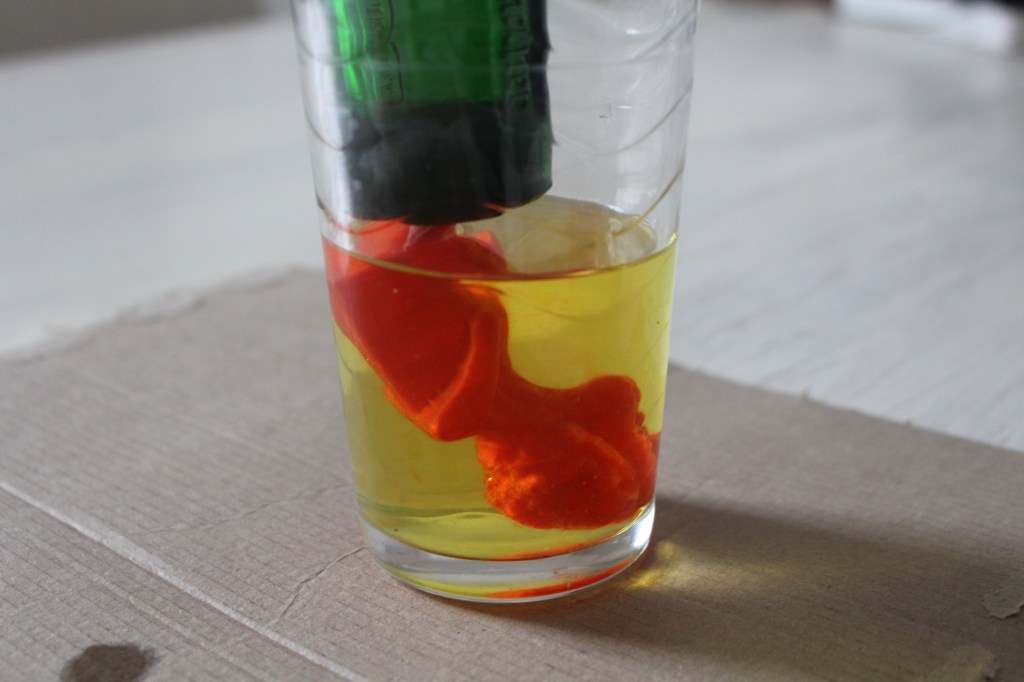
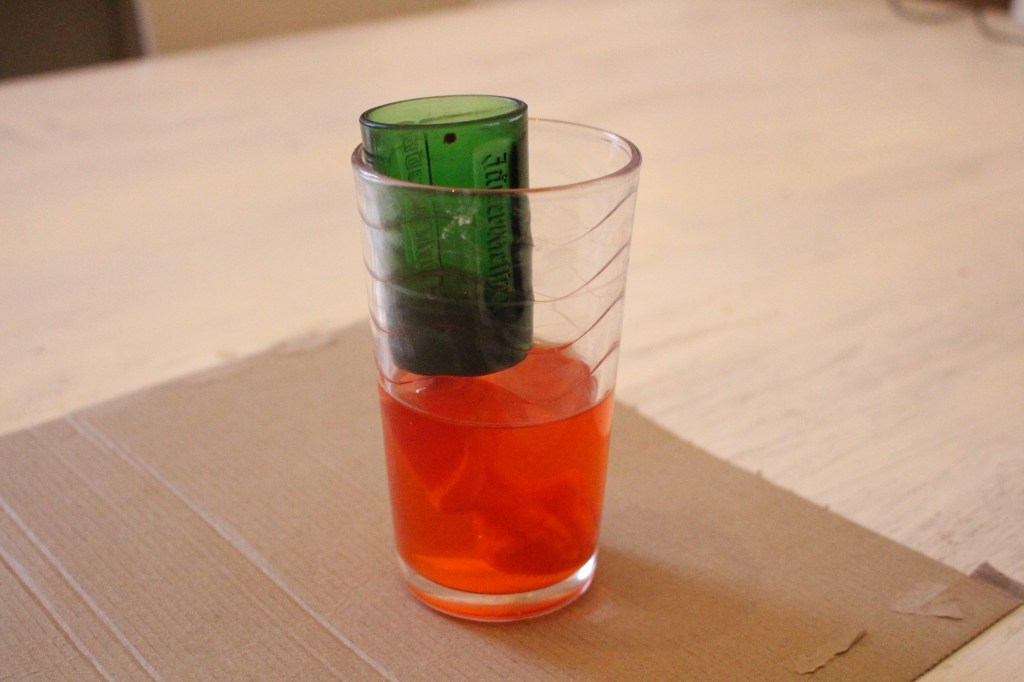
Because of this I tried to soak the model in a bath of acetone as shown. This had a similar smoothing effect, with some of the pigment appearing to wear off during the process, and some layer erosion, but not in the way I had hoped for.
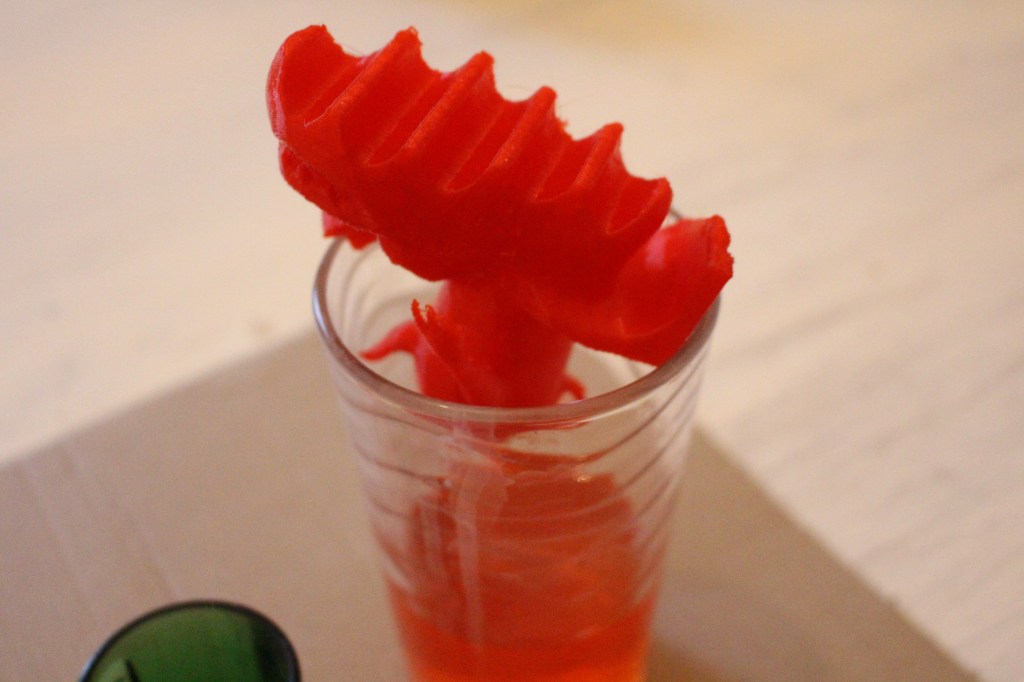
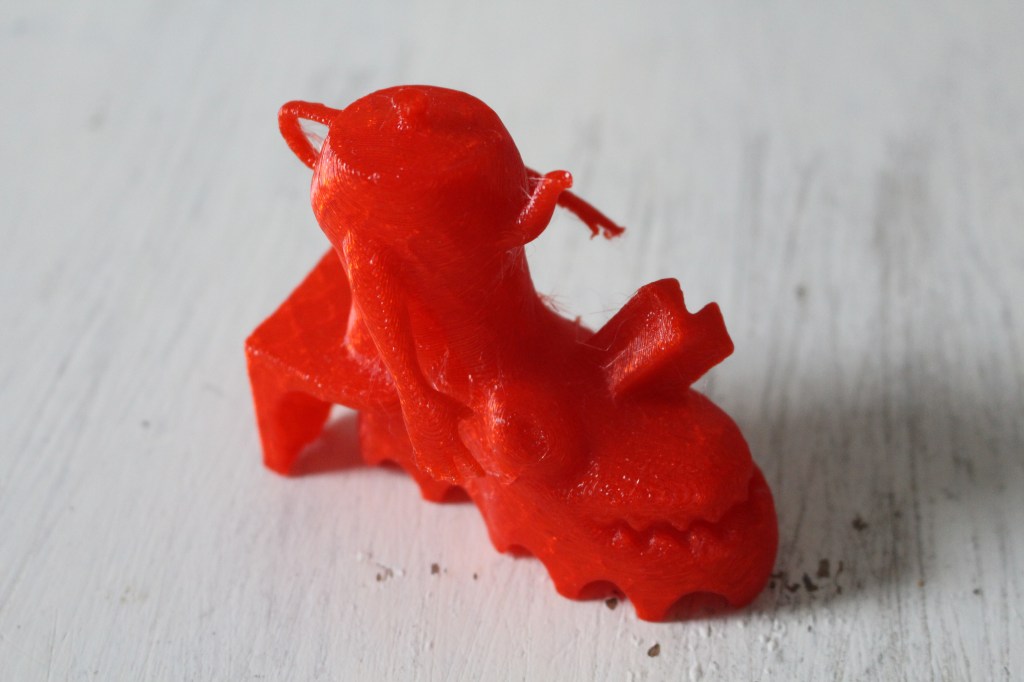
I tried the same process with a normal type of PLA which I had and the same effect occurred. Similar to rusting, the layers on the outside reacted with the acetone, but beyond this, it protected the inside layers from further damage due to the new state formed on the outside.
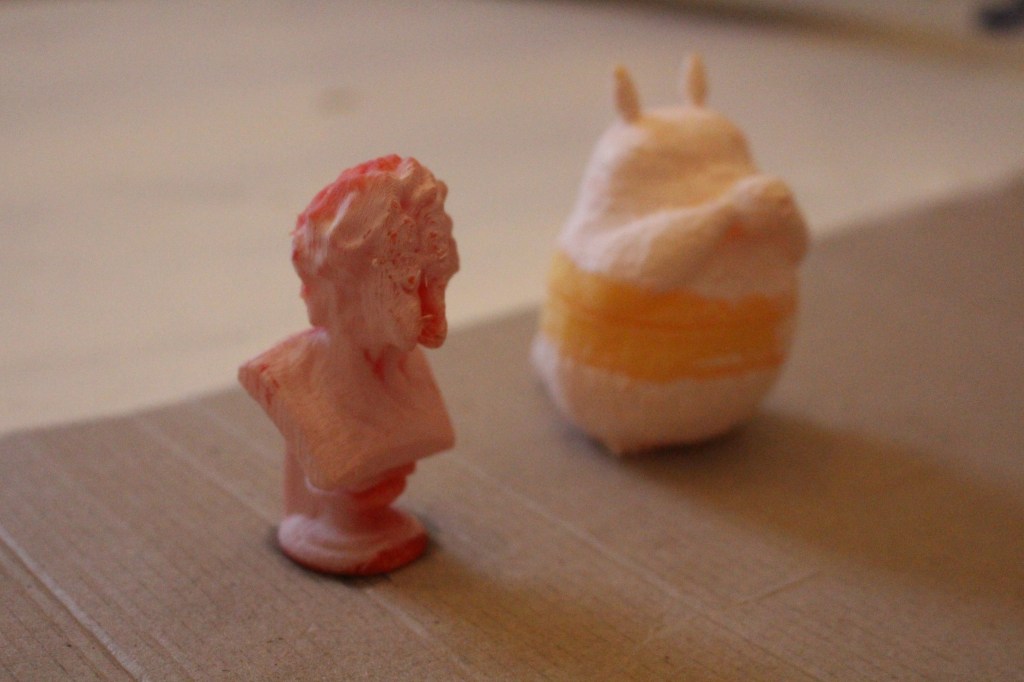
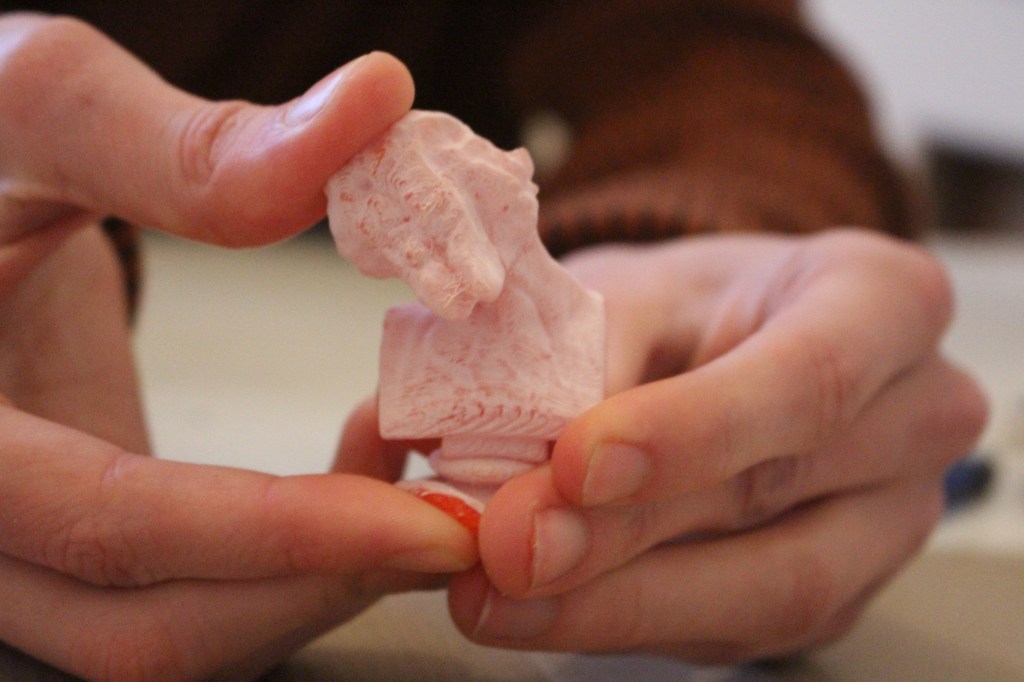
After only a few minutes, and then the next morning too, the models retained and formed a white residual layer where the pigment had been extracted. The area which I had painted with acetone on the first test was completely unaffected as if acetone proofed due to the painting and reaction that occured. The most interesting reaction shown in the video below was the models gaining flexibility due to being soaked through in acetone. This effect was gone in the morning once the soaked through acetone evaporated leaving the model once again fully rigid. This could prove interesting if I wished to heavily warp and 3D prints which I created as a further facet of reproduction.
The final test which I tried was simply leaving the model above the acetone bed to see if the evaporating vapours would shift the surface quality at all. This final test had no effect visible. However it was really useful to test all of these processes for future printing and to know that they wouldn’t work well for my large print.
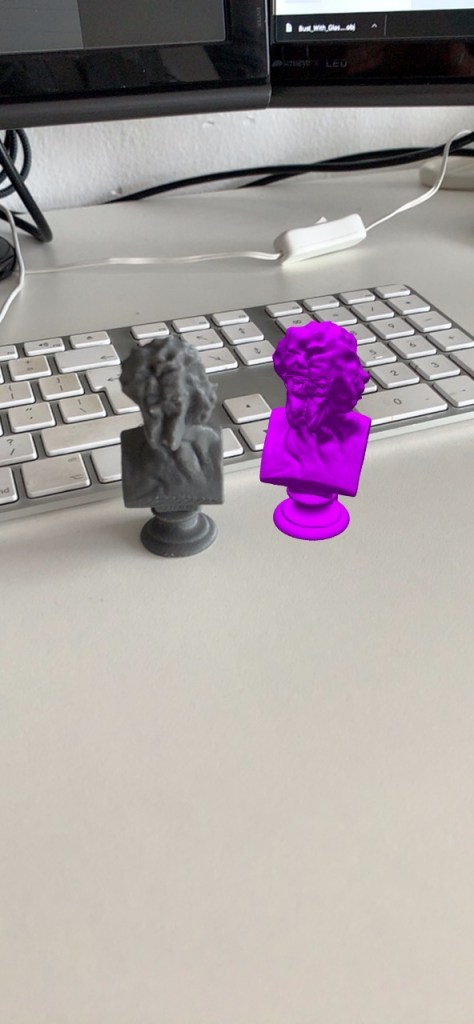
These videos are experimenting with ways I can subvert the boundaries between physical and digital space. Having previously created many turntable renders of 3D objects, I want to somewhat recreate this in physical space, removing that which makes it feel real to us, or blurring the lines between tangible and intangible. This grey area is what forms the fascinations behind this entire project, and moving between this space as a liminal concept inspires each movement forward.
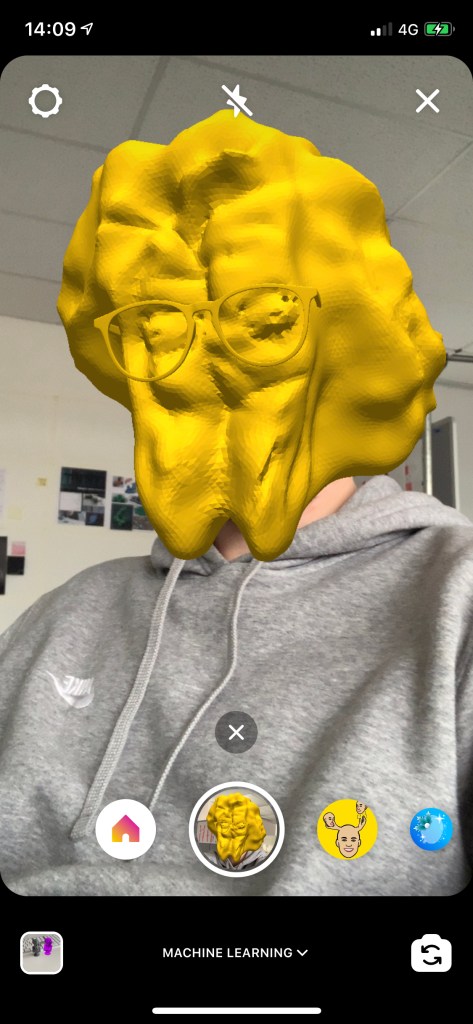
Here I have been exploring ways in which I can make the head sculpture I am creating more of an interactive experience. These versions are quite superficial, but they begin to show some promise in the methods/ ways of subverting it visually. I want to make them more interactive, or comment more on the machined and cold nature of the imagery.
This third video begins to show what I am aiming for a bit more, blocking out emotions through the use of the filter. The machine has captured so much of the face, but lost so much of the ability to express facially in the process because of what it has failed to capture. I think taking this loss of expression forward, as a facet of the erosion of quality through reproduction is what perhaps is most interesting about this process.
I want to take a look back at what I have explored so far and evaluate the message and ideas which I want to take forward with the aim of displaying them in two months time for a final submission. Beginning to think about how the interaction and experience will rub off on the user is going to become more and more significant going forward, and compiling the concept which I have tried to evoke in a clearer way.
